You’re likely familiar with the materials required for tile installation: the tile itself, thinset mortar, grout, and sealant (for natural stone tiles). But when it comes to tools, there’s a much longer list! Today, we’re diving into all of the tools you’re likely to need throughout the installation process.
Pencil and Paper

Before starting tile installation, it’s always wise to create a layout with paper and pencil so you have something to refer to as you cut and place each tile.
Safety Gear

Safety gear is crucial as you’ll likely be cutting tiles and using power tools throughout installation. It’s best to have safety glasses, ear plugs, a mask or respirator, gloves, and knee pads.
Tape Measure

Look for a retractable tape measure that can lock, as it will make taking accurate measurements simpler. You can also use a laser measure for additional precision.
Level
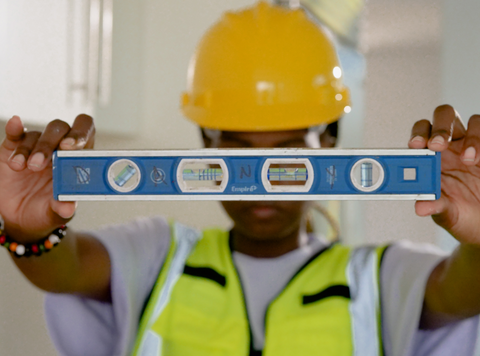
An uneven subfloor will result in subpar finished flooring. Always check for dips in the subfloor and address any uneven spots before placing tiles.
Tile Nippers/Tile Saw

You’ll likely need to cut some of your tiles to fit perfectly around the edges and corners of the room. There are a variety of tools that can be used, including wet saws, tile nippers, snap tile cutters, angle grinders, and glass cutters. Angle grinders and snap tile cutters tend to require less skill.
Bucket(s)

You’ll generally need one or two buckets for tile installation. One will be used for mixing and transporting mortar. Ideally, look for a rubber bucket for this purpose, as it will be much easier to clean afterward. You may also want a second bucket to fill with water as you’re removing grout haze from the surface of your tile floor.
Drill and Paddle Mixer

A drill and paddle mixer are essentials for mixing thinset mortar.
Tile Trowel
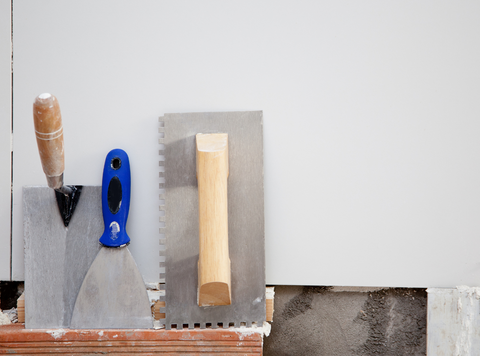
There are various types of tile trowels to choose from, but their purpose is always to spread the thinset mortar or another tile adhesive onto the floor or wall.
In general, you’ll want to use a square-notch tile trowel for floor tile or any tile larger than two square inches. Meanwhile, a V-notch tile trowel is better suited to wall tile, mosaic tile, and tile smaller than two square inches.
Rubber Mallet

A rubber mallet is important for leveling the tile without damaging it. Avoid using a hammer wrapped in soft material, as this can still cause damage.
Sanding Block/Tile Beater Block
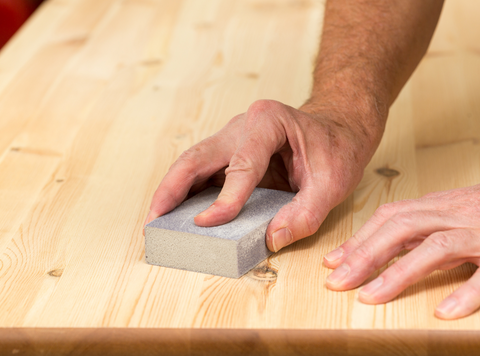
A tile beater block or sanding block can be used to eliminate air bubbles under the tile and strengthen the bond between the tile and adhesive.
Alignment Clips
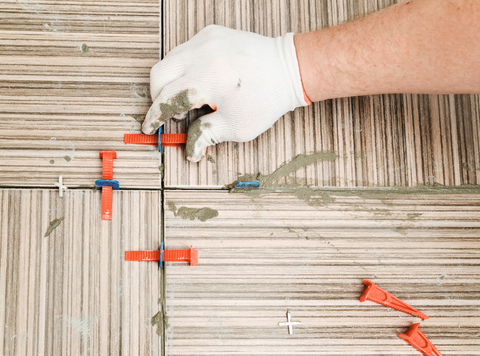
Sometimes referred to as a floor leveling system, alignment clips ensure that all the tiles are level.
Tile Spacers
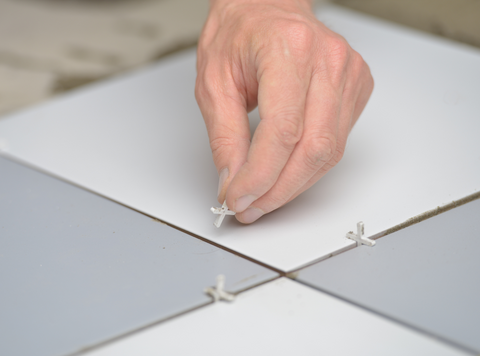
Tile spacers allow for uniform spaces between tiles, leaving the perfect amount of room for grout.
Suction Cup Handle

A suction cup handle is nice to have, as it can help you lift sunken tiles and adjust crooked ones for a precise, even layout.
Grout Float
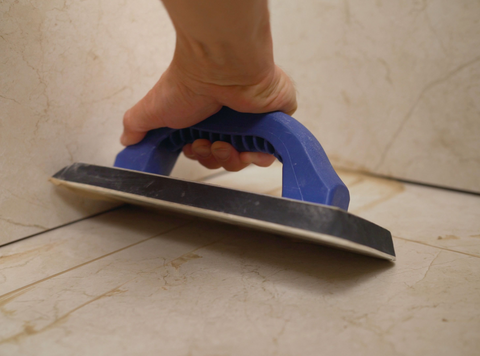
Grout floats are used to spread grout and press it into place between each tile.
Rags/Sponge
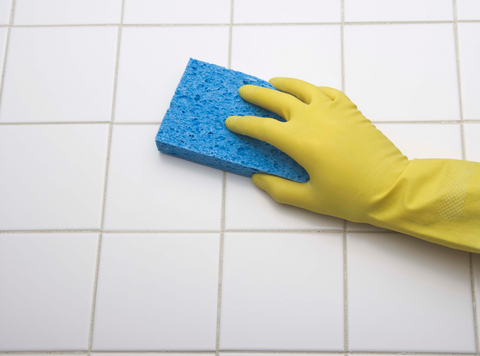
A few rags or a large sponge are perfect for removing grout haze from the surface of the tiles.
Abrasive Pads
In some cases, you may need to gently use abrasive pads to remove stubborn grout haze.
Learn More About DIY Tile Installation
Be sure to check out our other installation resources for more information on DIY installation!
- How to Install Tile Like a Pro (Our Top Tips)
- Choosing the Right Grout for Your Tile
- How to Install a Glass Tile Backsplash (DIY Project)
- Waterproof Your Tile Floor (DIY Project)
- 8 Things to Know Before You Install Natural Stone Tile
- Create Your Own Tile Layout (Here’s How)
- How to Install Tile Outdoors Without Hiring a Pro
- 10 Steps for DIY Shower Tile Installation
- DIY Wall Tile Installation
- Refresh Your Tile with New Grout (DIY Project)
- 10 Tips and Tricks for DIY Tile Installation
- 5 Common Tile Installation Mistakes (And How to Avoid Them)
Find the Perfect Tile for Your Next Home Renovation Project at Tilezz.com!
Our selection at Tilezz.com is filled with plenty of variety and options for all styles! Take a look at our full product range here, or visit our blog for fun interior design inspiration. Shopping for tile online has never been easier with our fast delivery, insured shipments, and easy returns.