
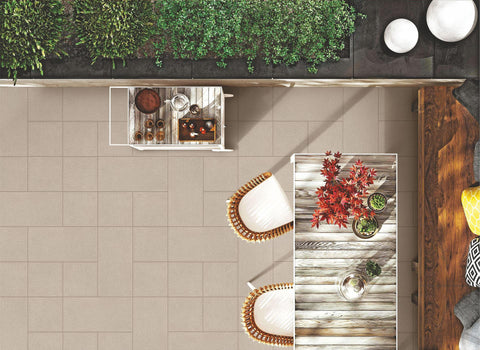
One of the best ways to transform outdoor spaces is to install tile.
Today, the high-quality tile, mortar, and grout options on the market make it simple to install durable outdoor flooring, even in colder climates!
In this blog post, we’ll talk about some of the things you need to consider when installing tile outdoors rather than inside your home. We’ll also provide step-by-step instructions for outdoor tile installation. Let’s get started!
Special Considerations for Outdoor Tile Installation

If you’re planning to install tile outdoors, here are several considerations to keep in mind.
- The best time to install outdoor tile is when the temperature outside is between 50 and 100 degrees Fahrenheit. Any colder than that, and your tile will take much longer to cure. The cold can also decrease the strength of the grout and mortar. Meanwhile, temperatures over 100°F can result in a poor bond between the tile, mortar, and grout, as the heat can cause the mortar and grout to cure too quickly.
- When installing tile outside, it’s essential to use high-quality mortar, grout, and sealer.
- Don’t forget to place expansion joints no further than 16 feet apart. You’ll also want to add expansion joints anywhere the tile comes up against the house’s foundation, steps, or another vertical surface. This will allow the tile to expand and contract without cracking.
- Your slab must be stable, level, and free of cracks for your tile installation to last long-term.
- If maintenance is needed, take care of it as soon as possible. A small issue like a loose tile or cracked grout can quickly become a huge problem if not addressed.
- While you can complete this project on your own, it’ll be much easier if you have a second person to help you move tiles, spread mortar and grout, and remove grout haze.
Step 1: Prepare the Slab

Concrete slabs are the most common type of base for outdoor tile, and our instructions will refer to concrete. However, other exterior-grade materials like cement board can also suffice, and the process remains the same for most base types.
Scrub the Concrete
The very first thing you’ll need to do before laying your tile is to clean the base with a pressure washer or water and a stiff broom. Remove all dirt, debris, oil, and residue from the surface. Once the concrete slab is clean, spray away any remaining residue and give it time to fully dry.
Level the Slab
Next, you’ll need to level out the slab so that water doesn’t pool on the tiles. Use a straightedge to identify areas where the gap between the slab and straightedge is more than ⅛”. Use a concrete floor level like a self-leveling compound to fill these spots.
Fill In Cracks
Once your slab is clean and level, it’s time to fill in any cracks. Use a crack isolation membrane or masonry caulking for this step. Fill the concrete’s expansion joints with masonry caulk as well. If there are any holes, use a concrete patching compound to fill them.
Step 2: Dry-Fit the Tile

Now that your concrete slab is ready to go, you’ll want to dry-fit the tile and plan out expansion joints (⅛” to ⅜” gaps between sections of tile), marking them with chalk.
This will help you determine your tile layout and show you which tiles will need to be cut. Remember to factor in space between the tiles for grout lines.
Step 3: Mix and Spread the Mortar

Follow the manufacturer’s directions exactly when mixing your mortar. After mixing, use a mortar trowel to spread an even layer of mortar onto the concrete slab. Don’t apply too much–it’s best to start by spreading enough mortar for about 15 to 20 tiles.
Next, use the trowel’s combed edge to make grooves in the mortar. Avoid spreading mortar over the areas you’ve planned to place expansion joints.
Step 4: Install the Tile

Back-butter your first tile by applying an even layer of mortar to the back of it. Next, press the tile into the mortar on the slab. Continue this process with each tile, placing spacers between the tiles for even grout lines.
After every few tiles, it’s a good idea to check that everything is level and flush. Keep laying the tile until you’ve covered the entire area.
Then, it’s time to wait for the mortar to set. Refer to the manufacturer’s directions to determine exactly how long you’ll need to wait. This will usually be between 12 and 48 hours in total, but it can vary by product and can also be affected by weather conditions.
After the mortar has set, remove your spacers. Scrape away any excess mortar from the tile’s surface.
Step 5: Apply the Grout and Sealer
Mix your grout (again, following the manufacturer’s directions). Then, spread the grout into the gaps between tiles with a grout trowel. Do not fill the expansion joints with grout; you’ll fill them with flexible masonry caulk instead.
Next, use a slightly damp sponge to wipe away grout on the tile’s surface. Move the sponge in a circular motion, and rinse and wring it out frequently so that you’re not further spreading the grout over the tiles. Continue making passes with the sponge until the grout haze is gone.
Apply tile and grout sealer to complete the project.
Find the Perfect Outdoor Tile at Tilezz.com!
No matter the aesthetic you want to create with your outdoor tile, we have the products to make your design dreams a reality! At Tilezz.com, we have a vast selection of glass, natural stone, porcelain, and ceramic tile options in an array of shapes, sizes, designs, and colors. Every order comes with fast delivery, insured shipments, and easy returns.
Look through our selection here, or stop by our blog for more DIY projects and design inspiration.