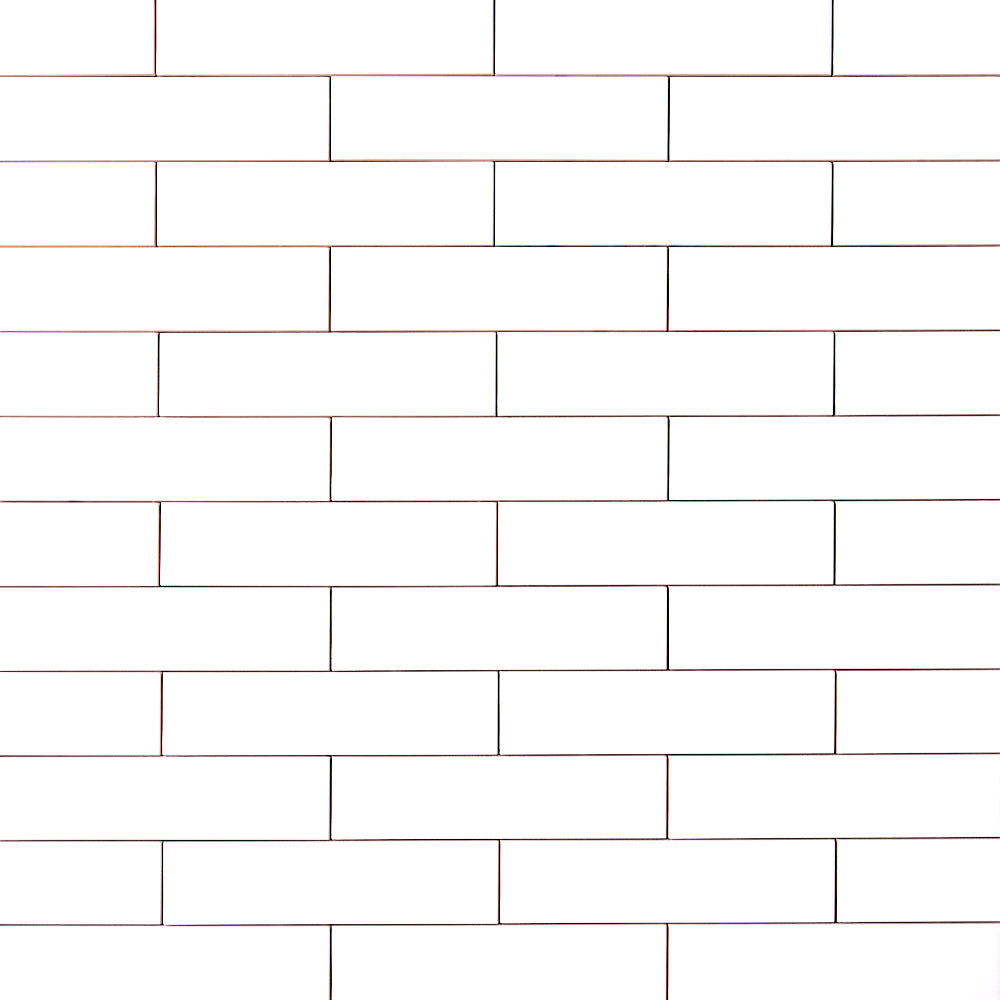
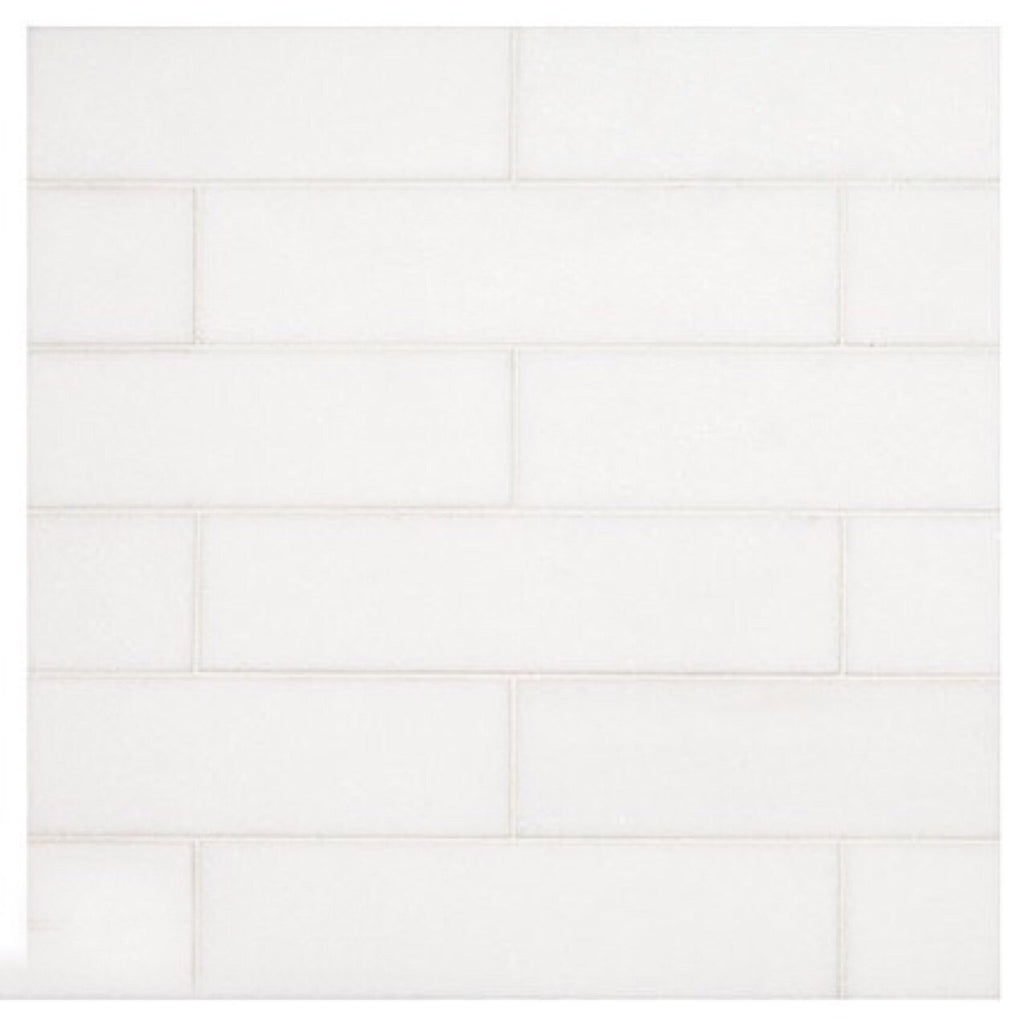
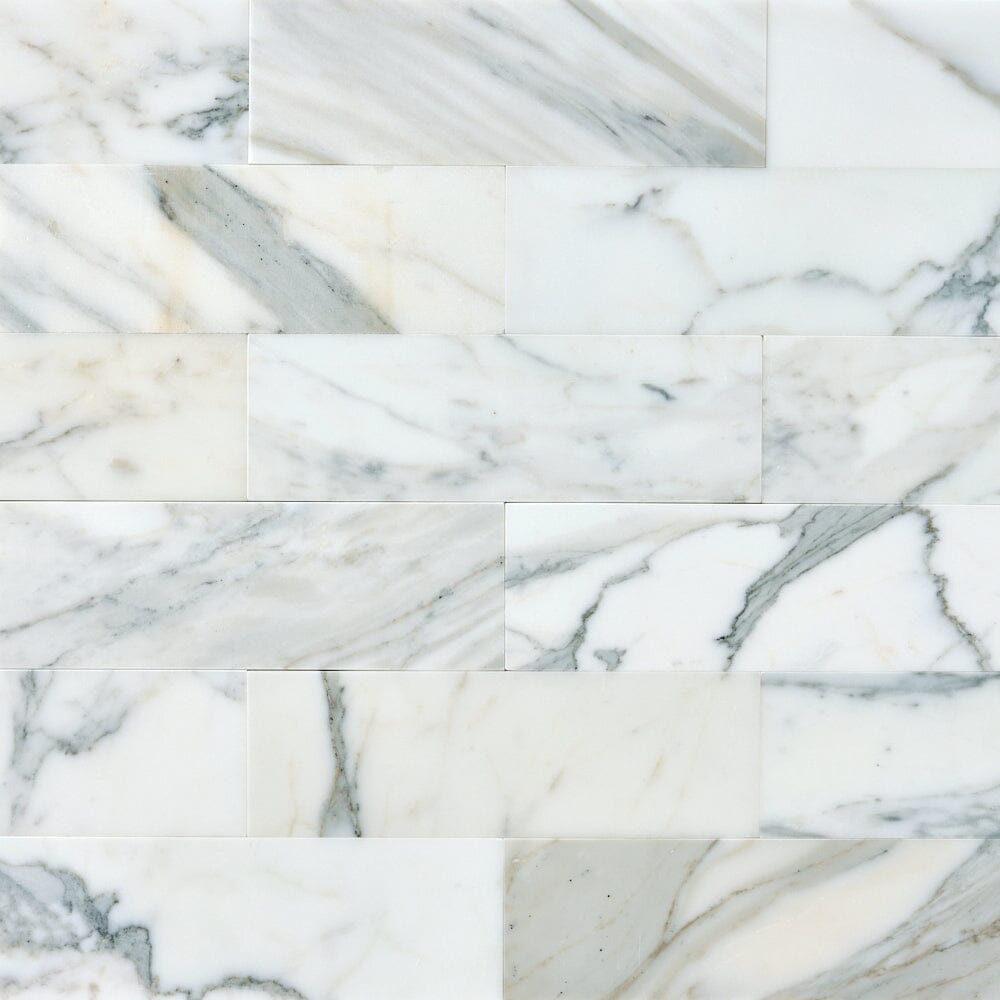
Glam White Statuary Large Penny Round 12x12 Matte Mosaic Tile
Tiles ship in 2-3 business daysCovers 1 per square foot


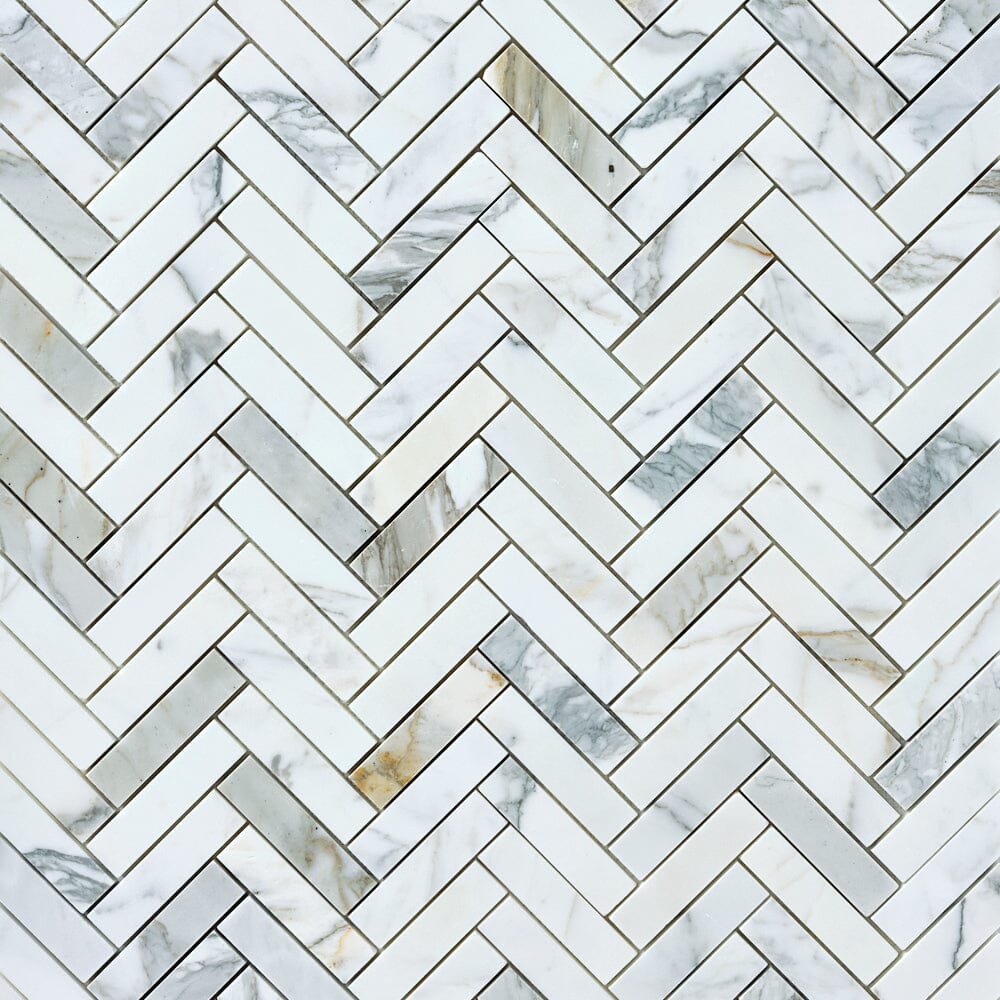
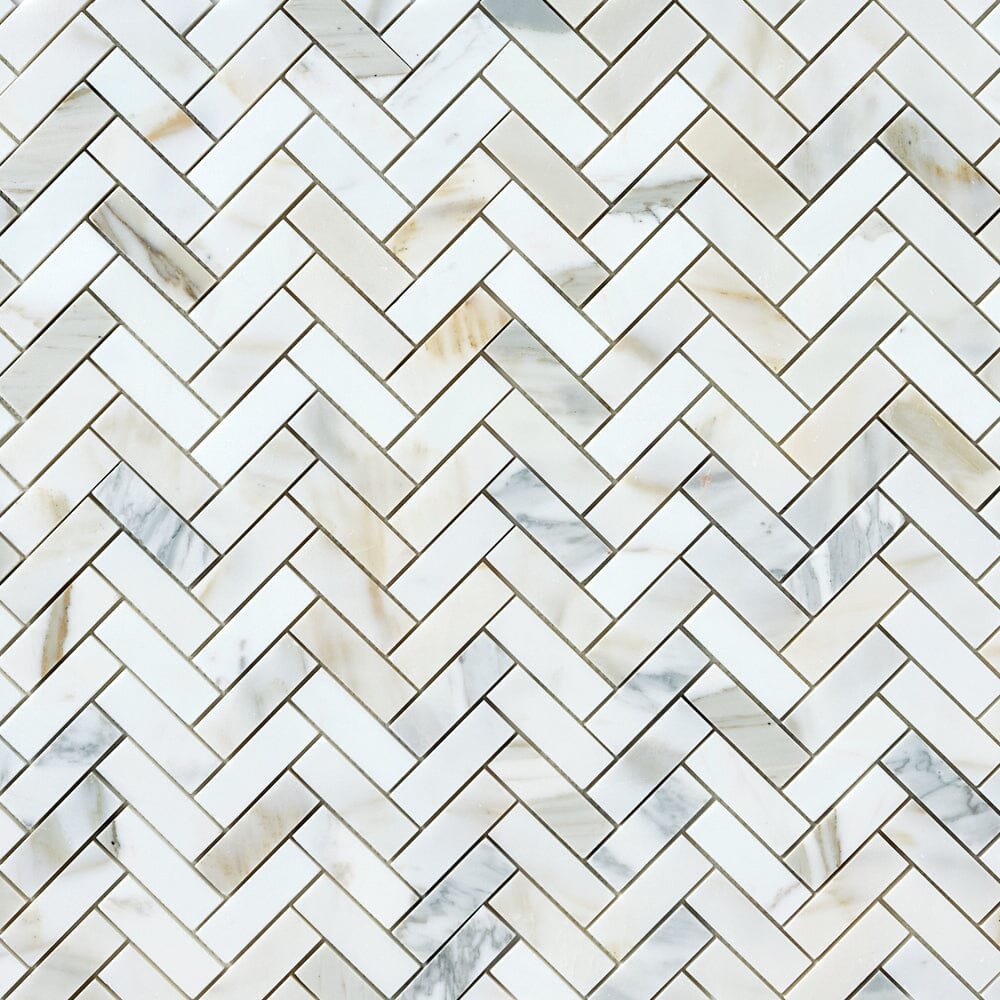
The Glam Collection redefines sophistication with its exquisite stone mosaics, adding texture, depth, and elegance to any space. Designed to blend natural beauty with artistic craftsmanship, this collection offers a stunning range of colors, shapes, and finishes. Whether enhancing walls, backsplashes, or statement features, Glam mosaics bring a refined touch to both modern and classic interiors.
Description
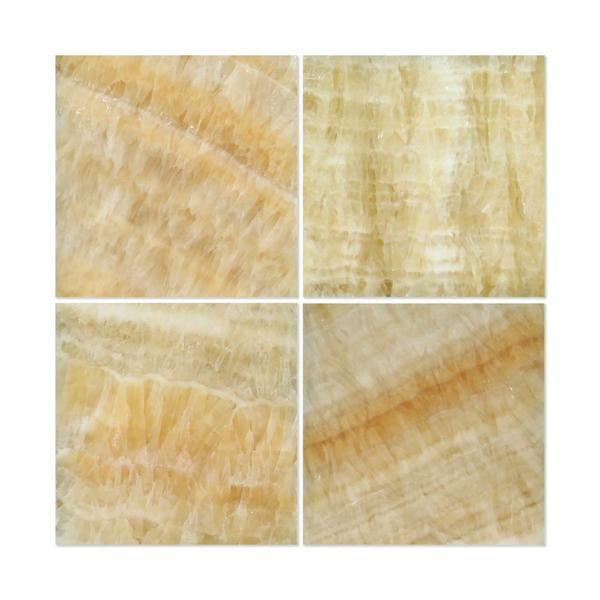
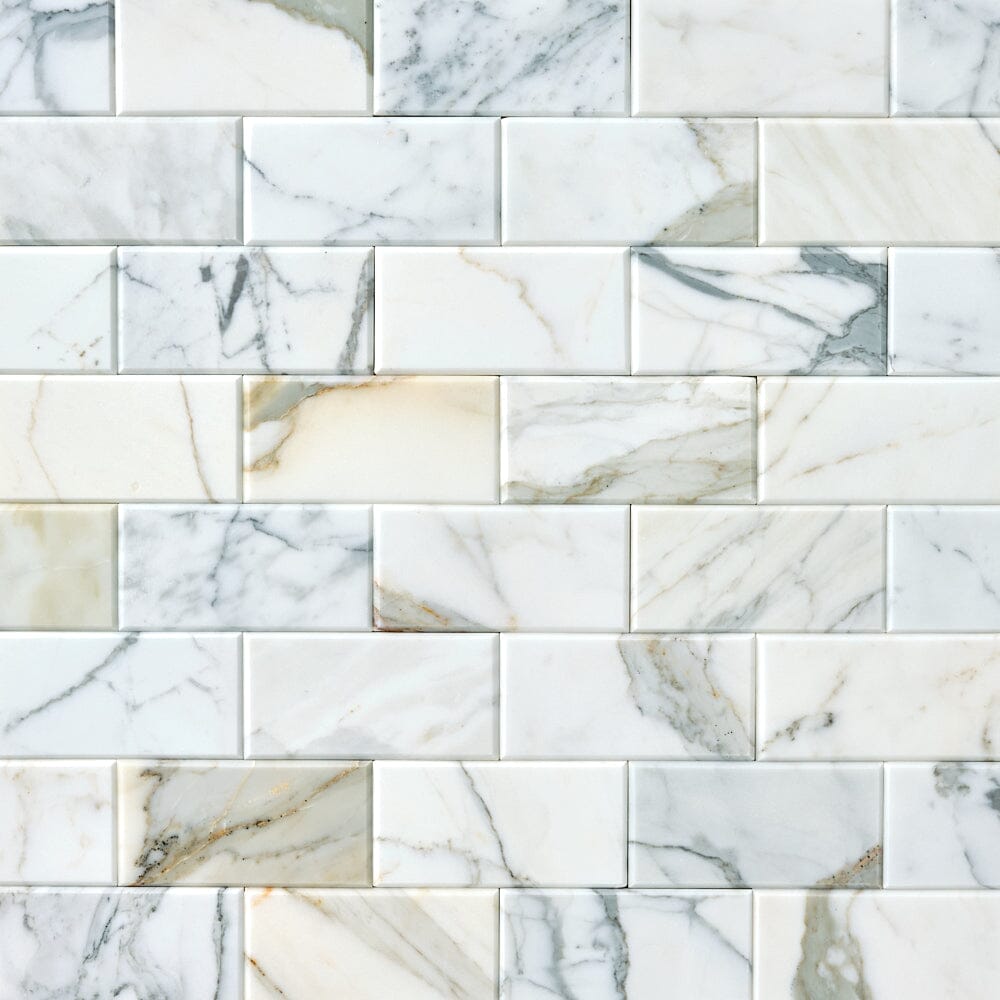
- Material: Marble (White Statuary).
- Finish: Matte (tumbled/low sheen).
- Size(s) Available: 12″ × 12″ mosaic sheet with large penny-round discs.
- Thickness: ~¼″ to ⅜″ (approx. 6–10 mm) depending on disc depth.
-
Application Ideas:
• Accent walls, shower walls, feature panels.
• Vertical installations in bathrooms or powder rooms.
• Backsplashes or niche insets.
• Light floor use in dry areas (verify slip safety first). - Style: Matte white, penny round mosaic, soft texture, quiet elegance, refined accent.
Key Features
- Large penny-round discs soften the visual rhythm and reduce grid effect, yielding a more flowing surface texture.
- Matte finish mutes glare and gives a more forgiving, natural aesthetic under varied lighting.
- Crisp white marble provides a clean, versatile backdrop that complements color accents or neutral palettes.
- Mosaic sheet format simplifies layout and maintains alignment across surfaces.
Care & Maintenance
- Clean with a mild, pH-neutral stone cleaner and a soft cloth or sponge.
- Avoid acidic or abrasive cleaners that may etch marble.
- Seal marble and grout lines post installation and reapply sealant periodically to protect against staining.
- Dry-lay sheets before setting to check pattern flow and alignment.
- Wipe spills immediately, especially colored or acidic liquids.
| Tile/Sheet Size | 12"x12" Nominal |
| Product Thickness | 1/4" |
| Application | Walls or Floors |
| Style | Round |
| Look | Mosaic |
| Material | Recycled Glass |
| Color Family | White |
| Made In | Brazil |
| Coverage | 1 Sf Per Sheet |
| Pieces Per Box | 11 pcs |
| Weight Per Box | 25.37 lbs |
| Finish | Matte |
| DCOF | N/A |
MATERIAL INSPECTION
Our stones are natural products. For this reason, there will be naturally occurring variations in the color, pattern, texture, and veining that may differ from what was pictured. Before you begin installation, please inspect the goods for any damage or defects such as chipped edges, broken pieces. We cannot make any adjustments or provide service after the installation has begun.
INSTALLATION
We recommend that you dry-fit your pattern first. Think about the cuts in advance and visualize the installation. Make sure that you practice laying out the pattern. This will also help you plan out the placement of the pieces, which is especially helpful with tiles that have a lot of variation.
To avoid affecting the color of the tile, we highly recommend using white thinset mortar. For faster installation, use a rapid curing thinset mortar.
- Apply as much adhesive as can be covered within 10-15 minutes.
- Grout joint should be a minimum of 1/16” and not butt set.
- Use a 3/16" or 1/4" square notch trowel when installing our marble material
- Prior to fixing the tiles in the mortar bed, use the flat side of the trowel prior to smooth down the ridges.
GROUTING
- For all-natural stone, we suggest using non-sanded grout in order to prevent scratching.
- Before grouting, test an area to make sure the stone surface will not scratch.
- Grout joints should be packed full. Do not leave pits or voids.
- Clean excess grout as you work. Do not let it harden completely.
- Never use acids to clean grout haze.
- Use a damp sponge for the final cleaning and to smooth out the grout joints.
- We highly recommend applying grout release prior to grouting the tile to facilitate cleaning and for protection against staining from contrasting color grouts.
SEAL
After the stone is installed and grouted, seal the stone with an appropriate high-quality breathable stone sealer. This will minimize the potential for water absorption, efflorescence, and staining. If needed, a color enhancer may be applied to bring out the true color of the stone at any time after grouting. You may choose to reseal the tile when the stone gets darker or as needed.
CUTTING
For the best results, use a wet-saw with a new, continuous rim diamond blade designed to cut marble. Do not use “turbo” or other notched blades designed for use with porcelain or ceramic: such teeth can result in a coarse cut, leading to a heavily chipped edge.
CARE AND MAINTENANCE
For normal care and maintenance of stone tiles, clean stone surfaces with a few drops of neutral cleaner, stone soap, or a mild liquid dishwashing detergent and warm water. Rinse the surface thoroughly after washing with the soap solution and dry with a soft cloth. To avoid leaving a film or causing streaks, avoid using too much cleaner or soap. When cleaning marble or limestone, do not use products that contain lemon, vinegar, or other acids. Do not use any abrasive cleaners.
Details
Specifications
Installation
-
I know the sq. ft. area I want to tile. Calculate the number of tiles I need to order:
-
I know the size of the area I want to tile. Calculate the number of tiles I need to order:
You need units. We recommend that you order units (10% extra) to cover cuts and future repairs.