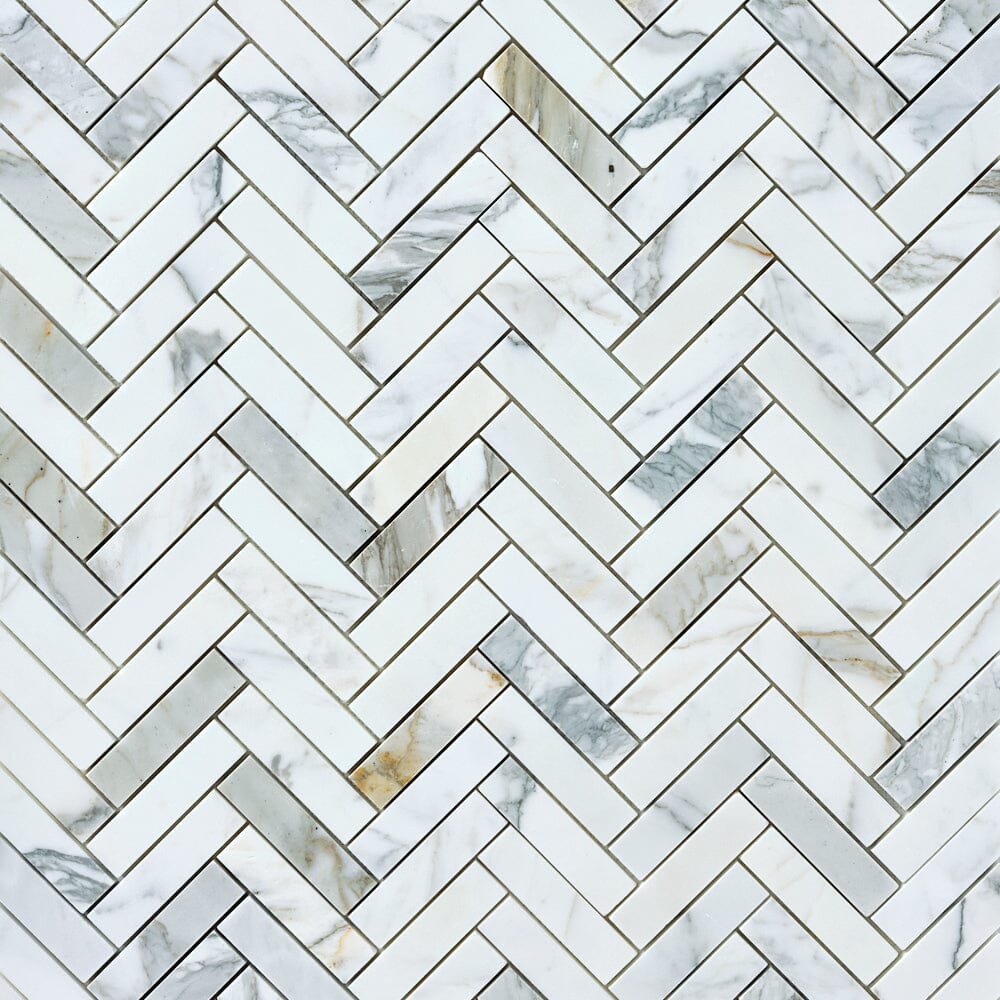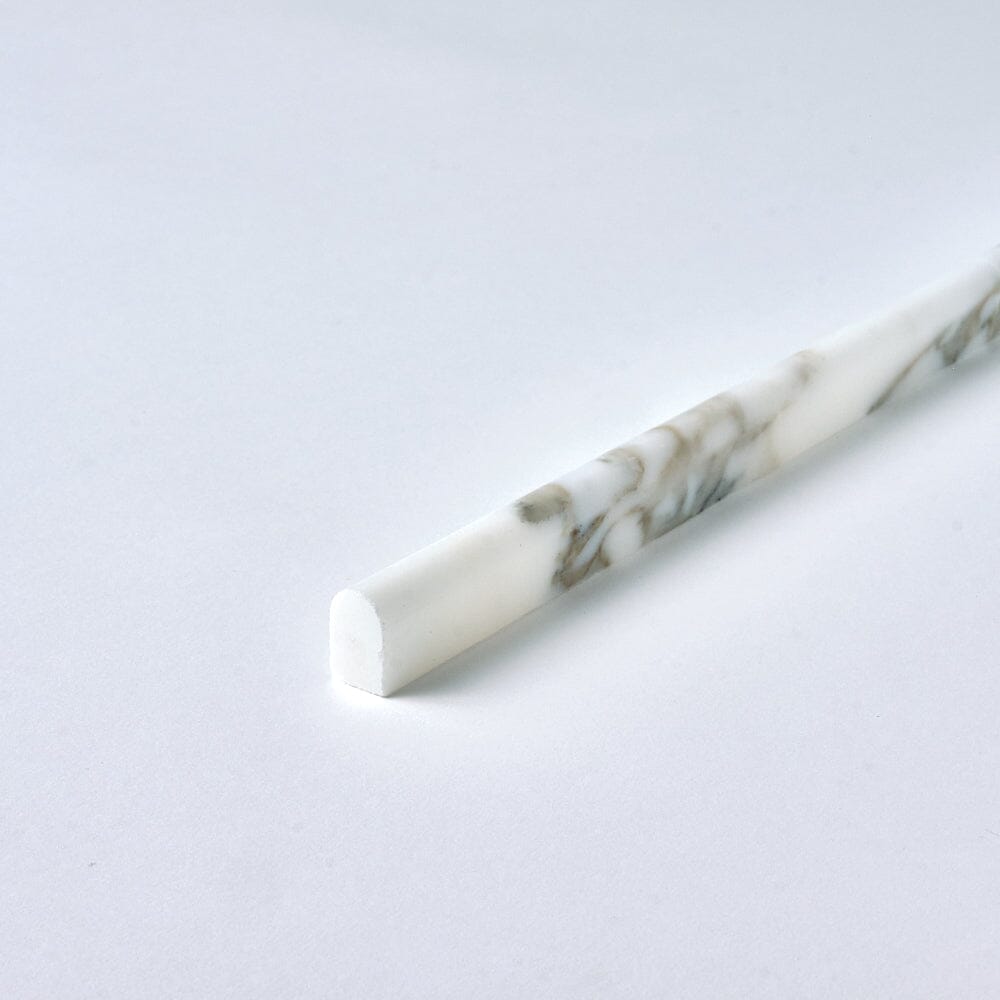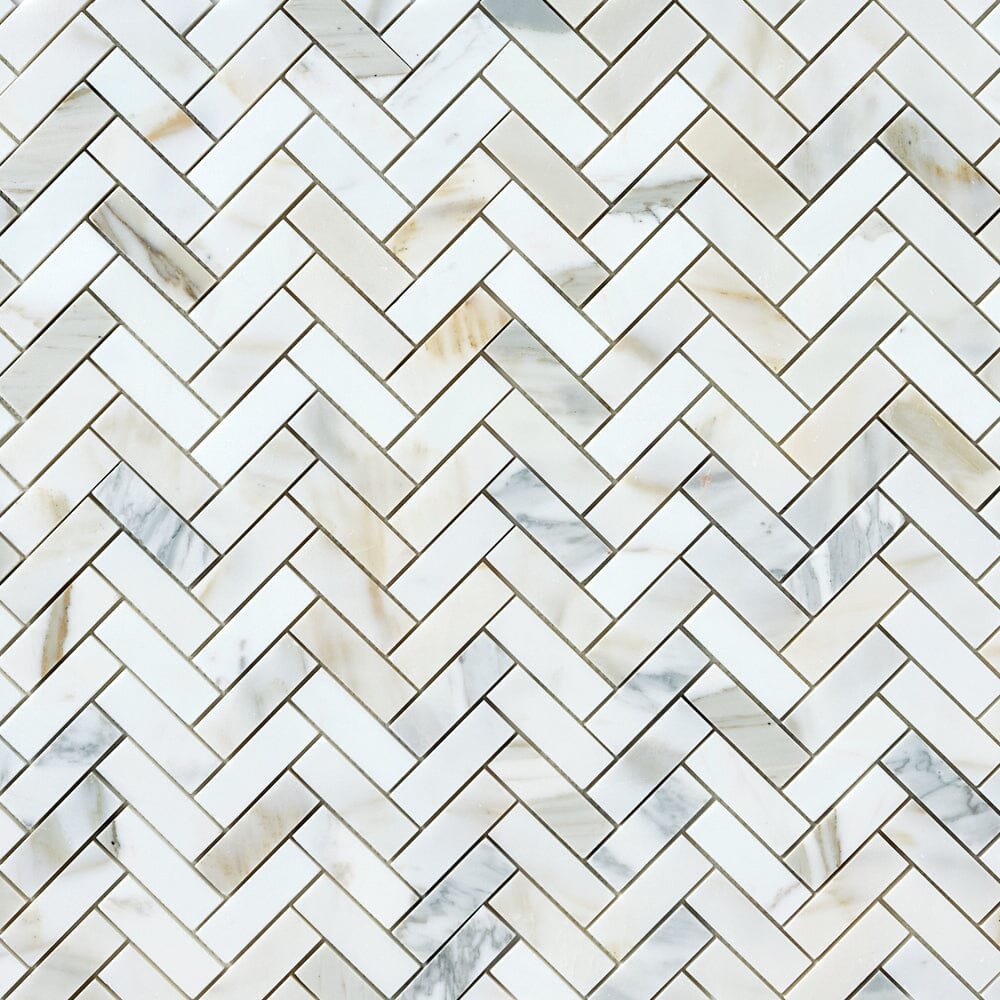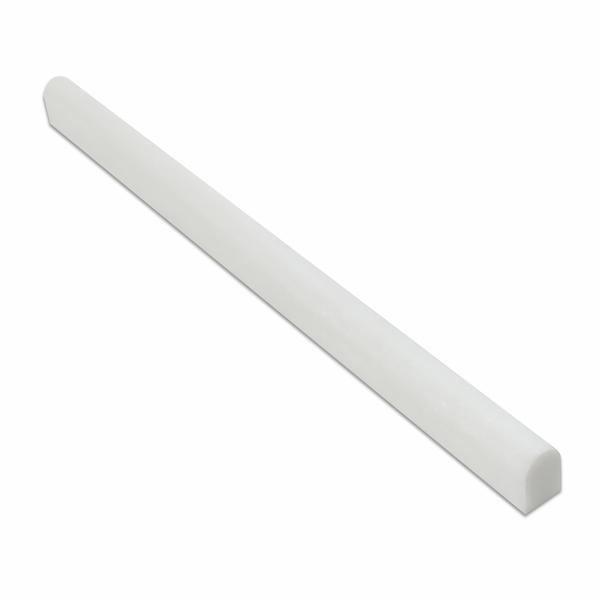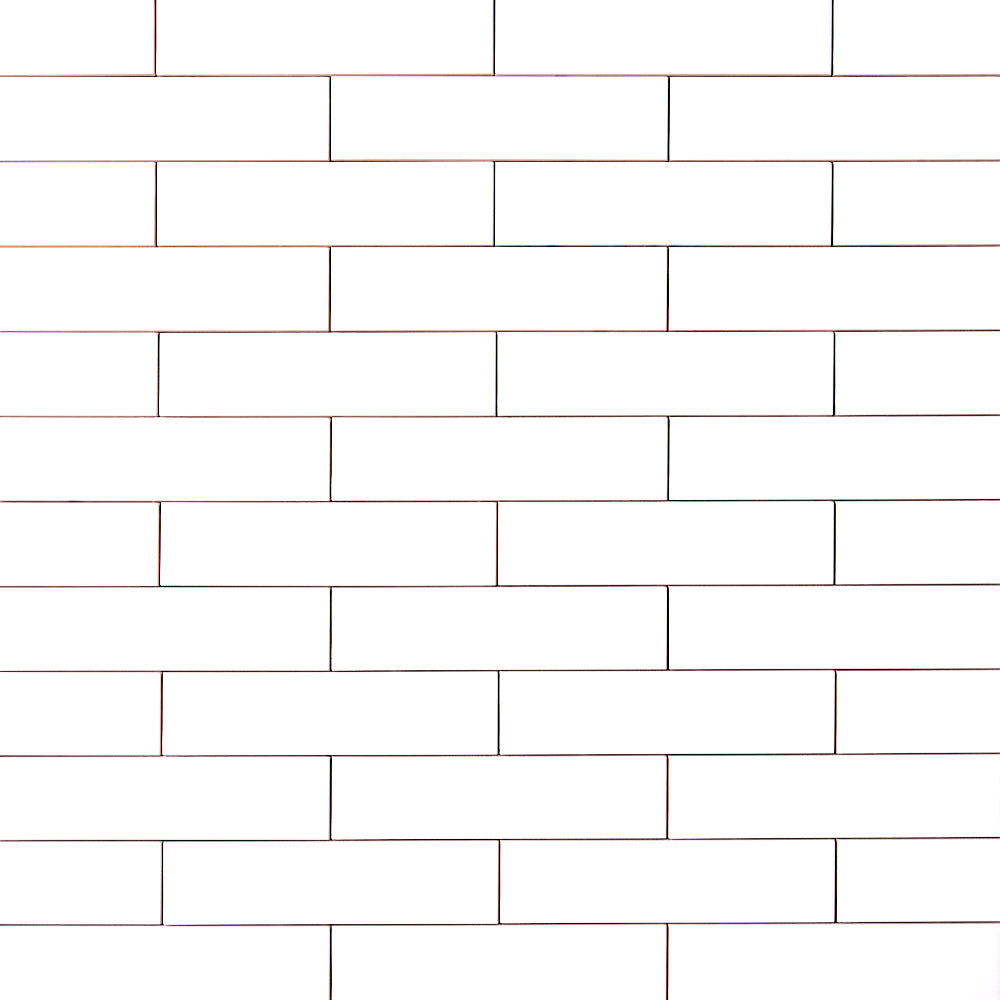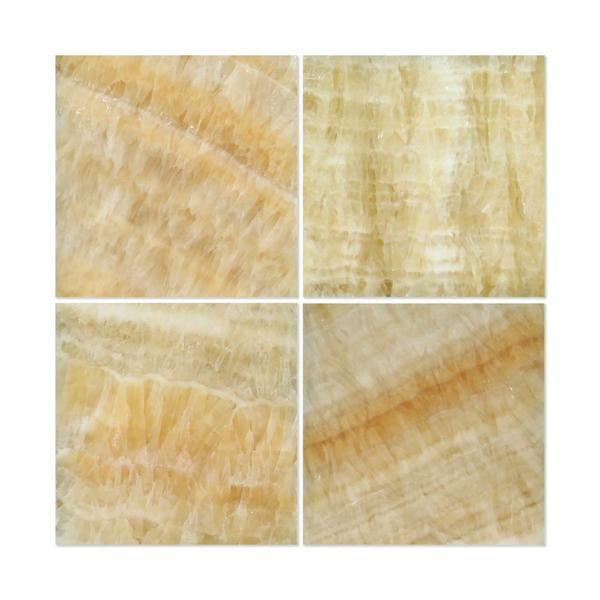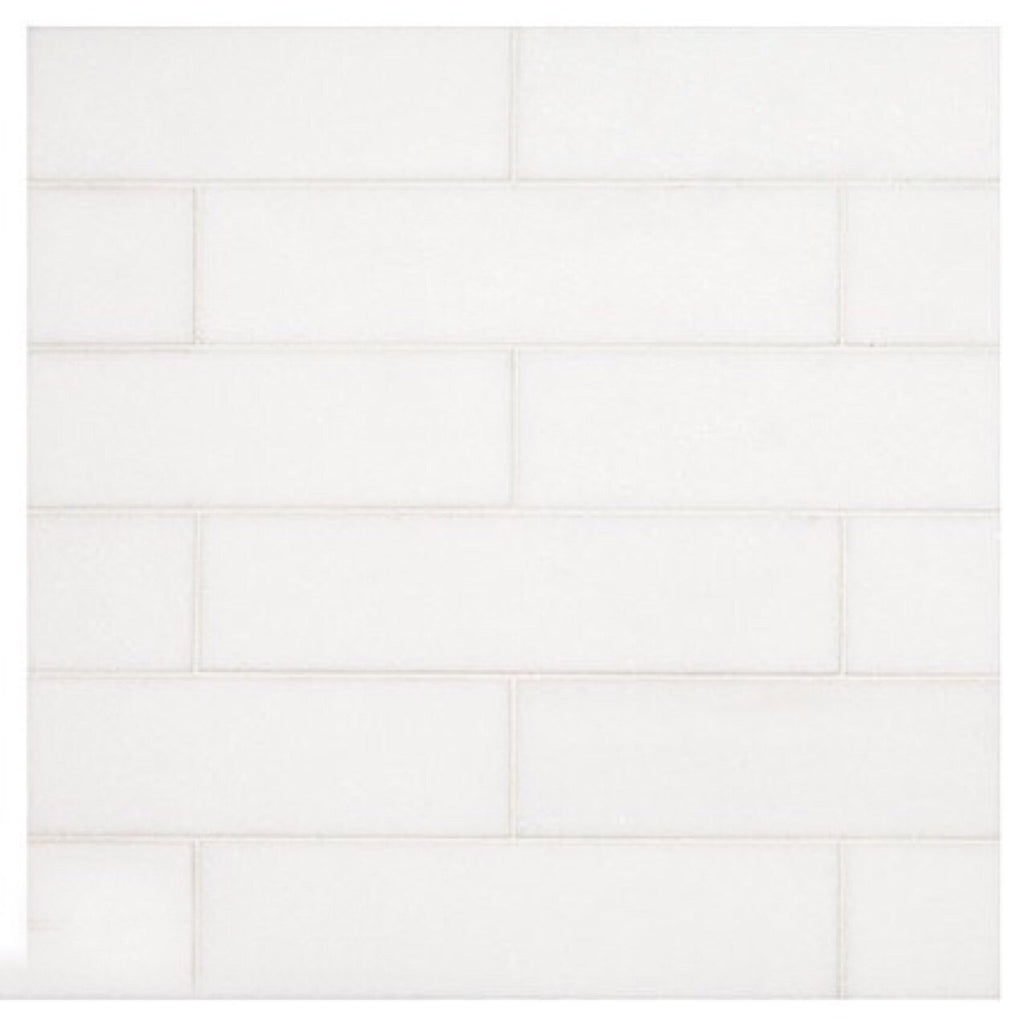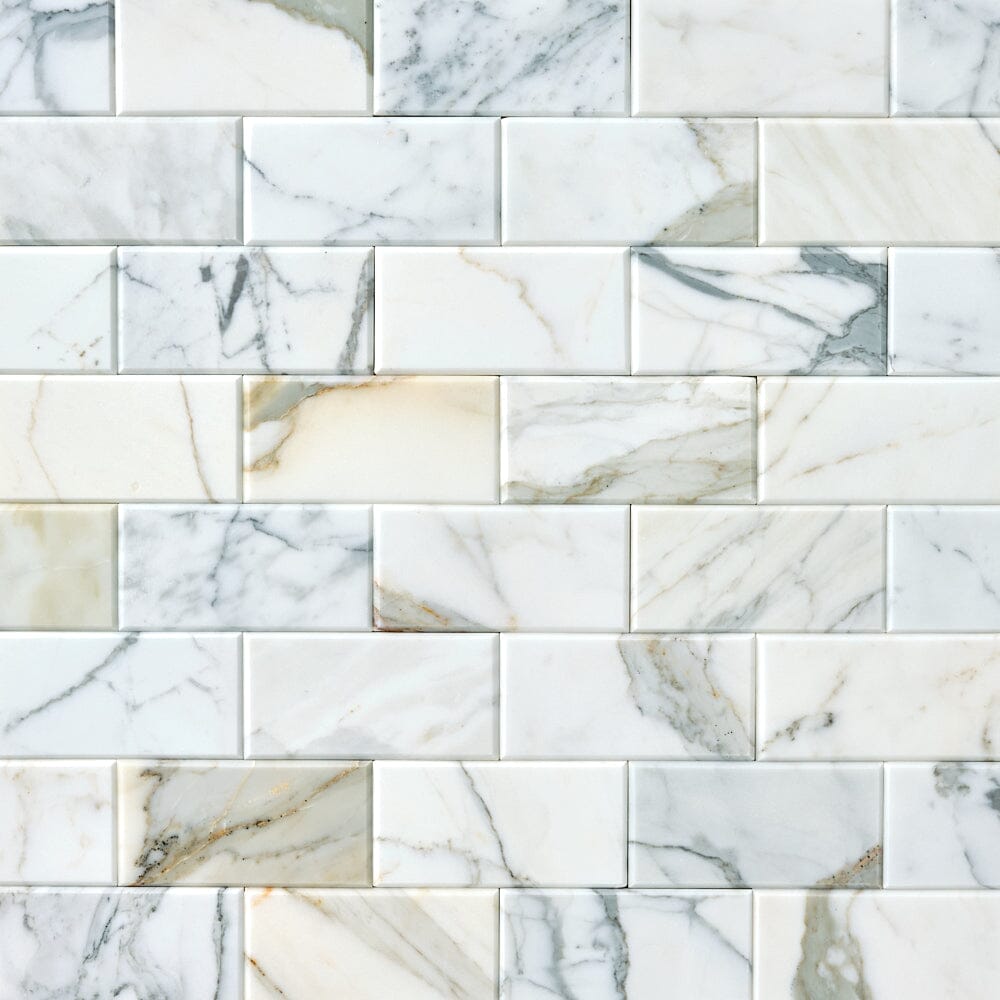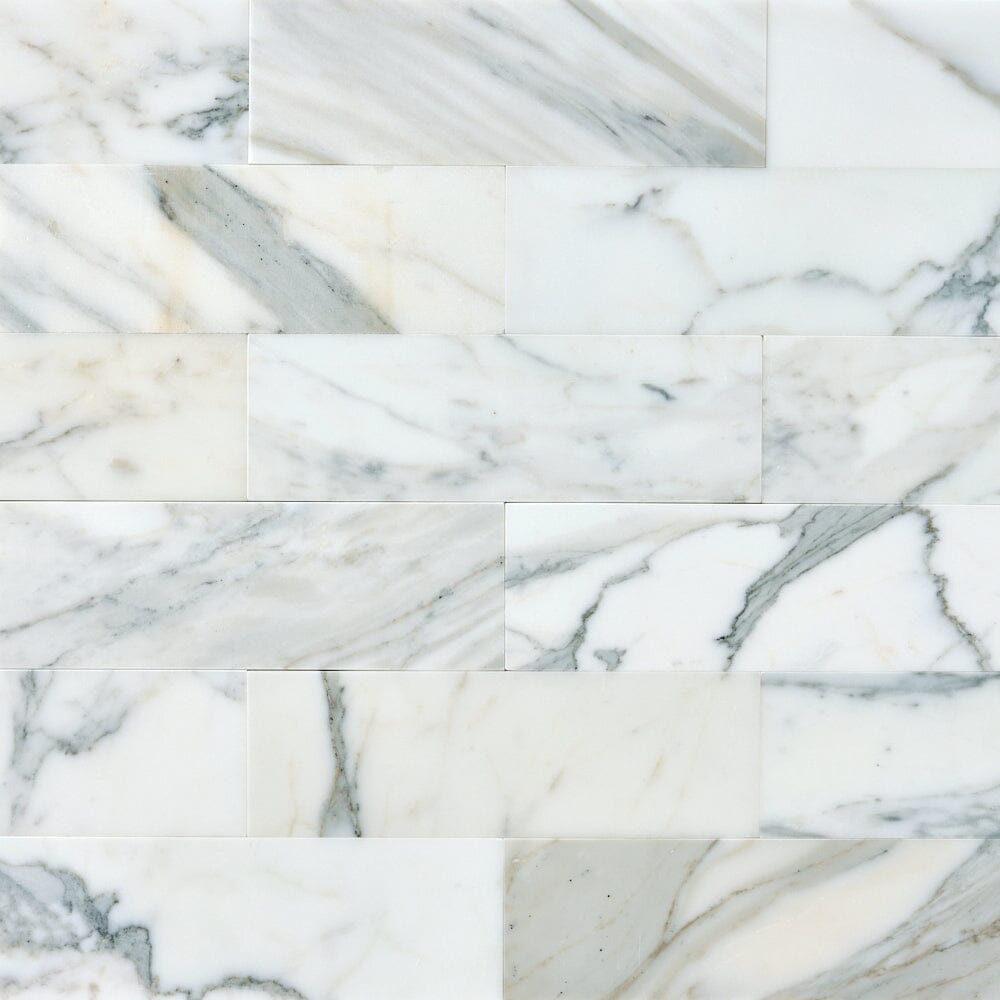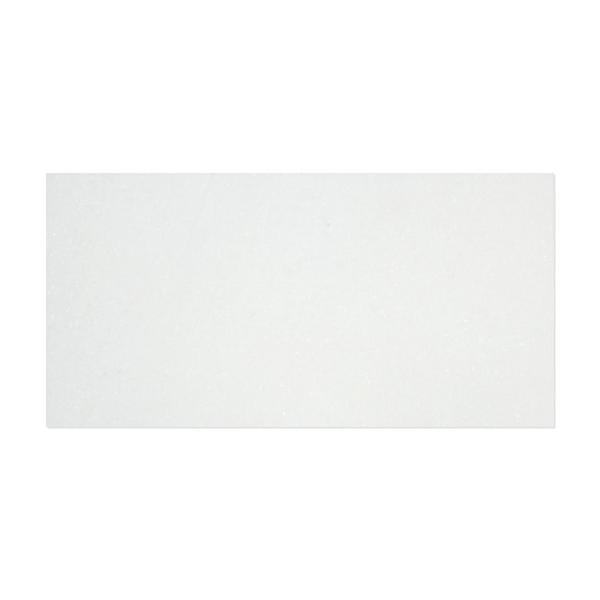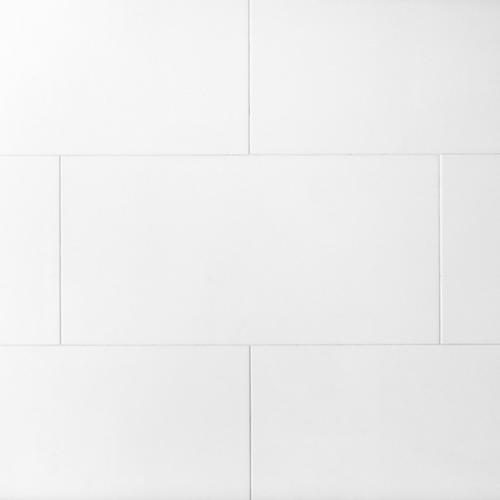


Calacatta Gold Polished Pencil .75x12 Polished Marble Tile
Tiles ship in 2-3 business daysCovers 1 per square foot


| Tile/Sheet Size | .75" x 12" |
| Application | Wall |
| Material | Marble |
| Look | Linear |
| Color Family | White, Gold |
| Made In | Asia |
| Coverage | 0.06 Sq.Ft Per Piece |
| Pieces Per Box | 30 |
| Finish | Polished |
| DCOF | N/A |
MATERIAL INSPECTION
There will be naturally occurring variations in the color, pattern, texture, and veining that may differ from what was pictured. Before you begin installation, please inspect the goods for any damage or defects such as chipped edges or broken pieces. We cannot make any adjustments or provide service after the installation has begun.
SUBSTRATE
To ensure a proper installation, the tile must be installed over a suitable substrate. Tile should be installed over a clean flat surface that is free of contaminants, including curing compounds. The substrate should be free of cracks. If used in a wet area, it is essential to waterproof. See manufacturer's recommendation for a waterproofing and crack prevention membrane that is compatible with the setting material you are using. Expansion joints should be installed at all changes in plane in the tile work and where tile abuts restraining surfaces. In all corner joints, install using silicone caulking sealant instead of grout.
INSTALLATION
We recommend that you dry-fit your pattern first. Think about the cuts in advance and visualize the installation. Make sure that you practice laying out the pattern. This will also help you plan out the placement of the pieces, which is especially helpful with tiles that have a lot of variation.
To avoid affecting the color of the tile, we highly recommend using white thin-set mortar. For faster installation, use a rapid curing thin-set mortar.
- Apply as much adhesive as can be covered within 10-15 minutes
- Grout joint should be a minimum of 1/16” and not butt set
- Prior to fixing the tiles in the mortar bed, use the flat side of the trowel to smooth down the ridges
- We suggest using a 9" Trowel with a 1/8" square notch
- When installing our ceramic material, use a 3/16" or 1/4" square notch trowel
GROUTING
- For all-ceramic tiles, we suggest using non-sanded grout in order to prevent scratching.
- Before grouting, test an area to make sure the stone surface will not scratch.
- Grout joints should be packed full. Do not leave pits or voids.
- Clean excess grout as you work. Do not let it harden completely.
- Never use acids to clean grout haze.
- Use a damp sponge for the final cleaning and to smooth out the grout joints.
- We highly recommend applying grout release prior to grouting the tile to facilitate cleaning and for protection against staining from contrasting color grouts.
CUTTING
For the best results, use a wet-saw with a new, continuous rim diamond blade designed to cut ceramic tile.
CLEANING
Porcelain tile is one of the easiest flooring materials to clean. Use a damp sponge mop. We suggest a solution of 1/4 cup of white vinegar to every 2 gallons of water. Allow time for drying. You can also sweep or vacuum.
Porcelain tile, while impervious, may still have its surface subject to discoloration if not cared for properly.
For cleaning unpolished surfaces:
- Sweep or vacuum dust and debris from the floor.
- When sweeping, use a soft-bristle broom and sweep in two directions: first, sweep along the direction of the grain in the tile. Then, sweep diagonally. This effectively dislodges dust and debris from inside the textured surface.
- Next, saturate the tile with a neutral cleaning solution such as vinegar and hot water and stir. Allow the cleaning solution to remain on the floor 5–10 minutes.
- Scrub the floor with a brush using the two-direction method.
- Rinse the floor with clean, clear water to remove the cleaning solution.
For high traffic locations, we suggest cleaning the floor at least once per day and wet mop at regular intervals.
REMINDERS
- Do not clean porcelain tile flooring with ammonia or cleaners that contain bleach and/or acid, as this may modify the grout color.
- Do not use wax, oil-based, abrasive cleaners, or sealants.
- Avoid using agents that contain any dyes or colors.
- Do not use steel wool pads. Leftover steel particles may create rust stains in the grout.
- We suggest placing rugs at entrances to minimize dirt and grit from being tracked into the tile flooring from outdoors.
Details
Specifications
Installation
-
I know the sq. ft. area I want to tile. Calculate the number of tiles I need to order:
-
I know the size of the area I want to tile. Calculate the number of tiles I need to order:
You need units. We recommend that you order units (10% extra) to cover cuts and future repairs.