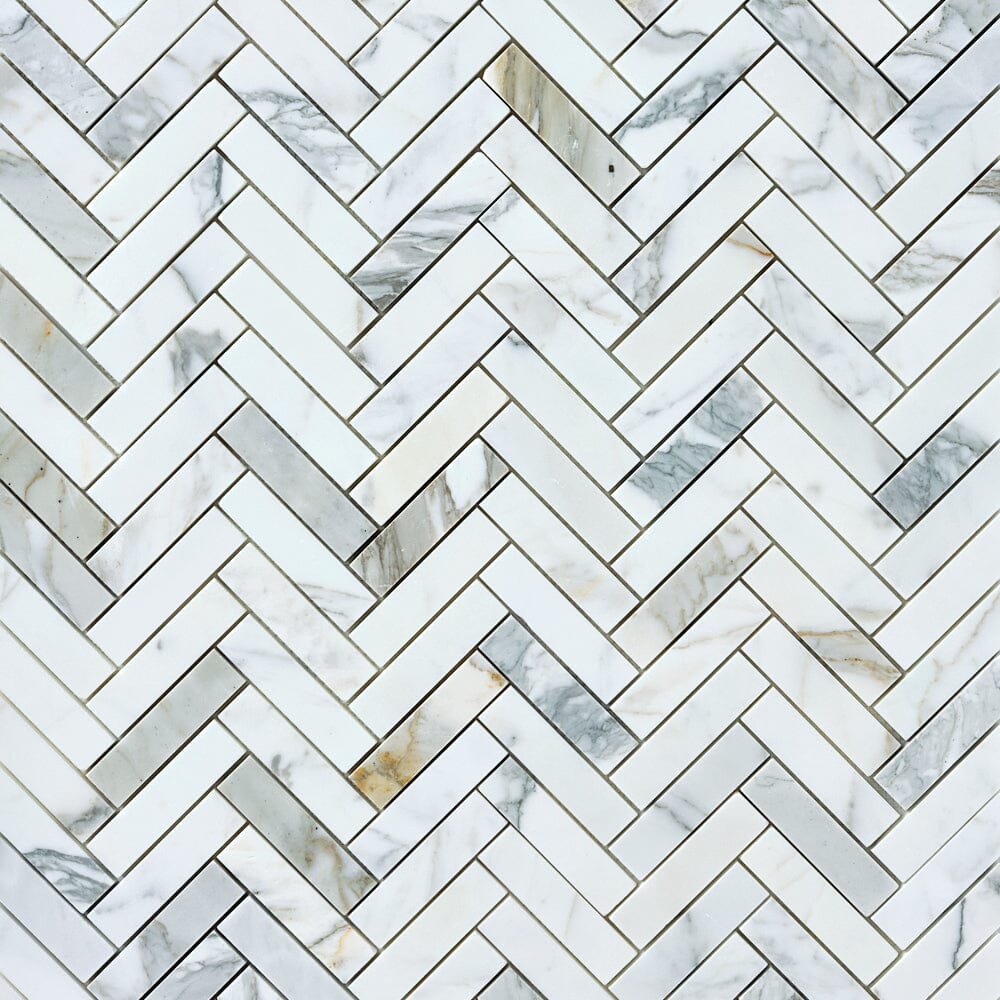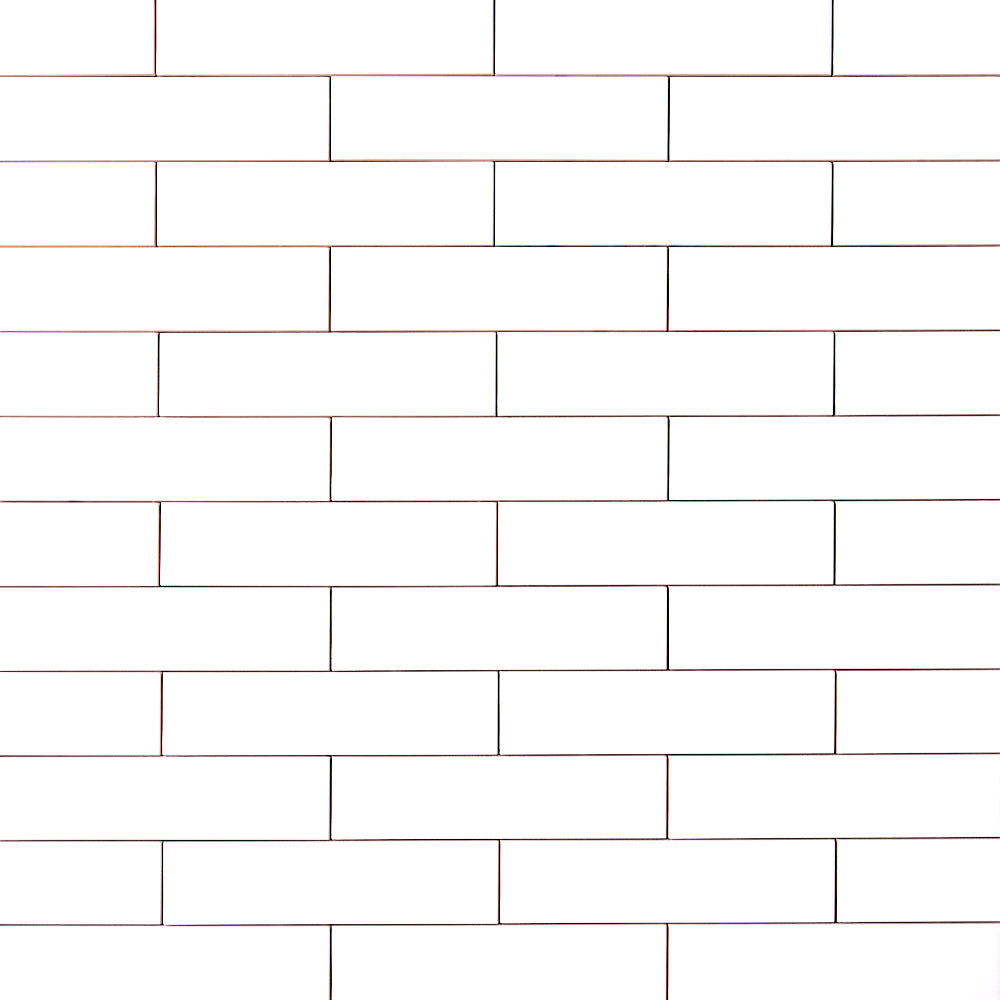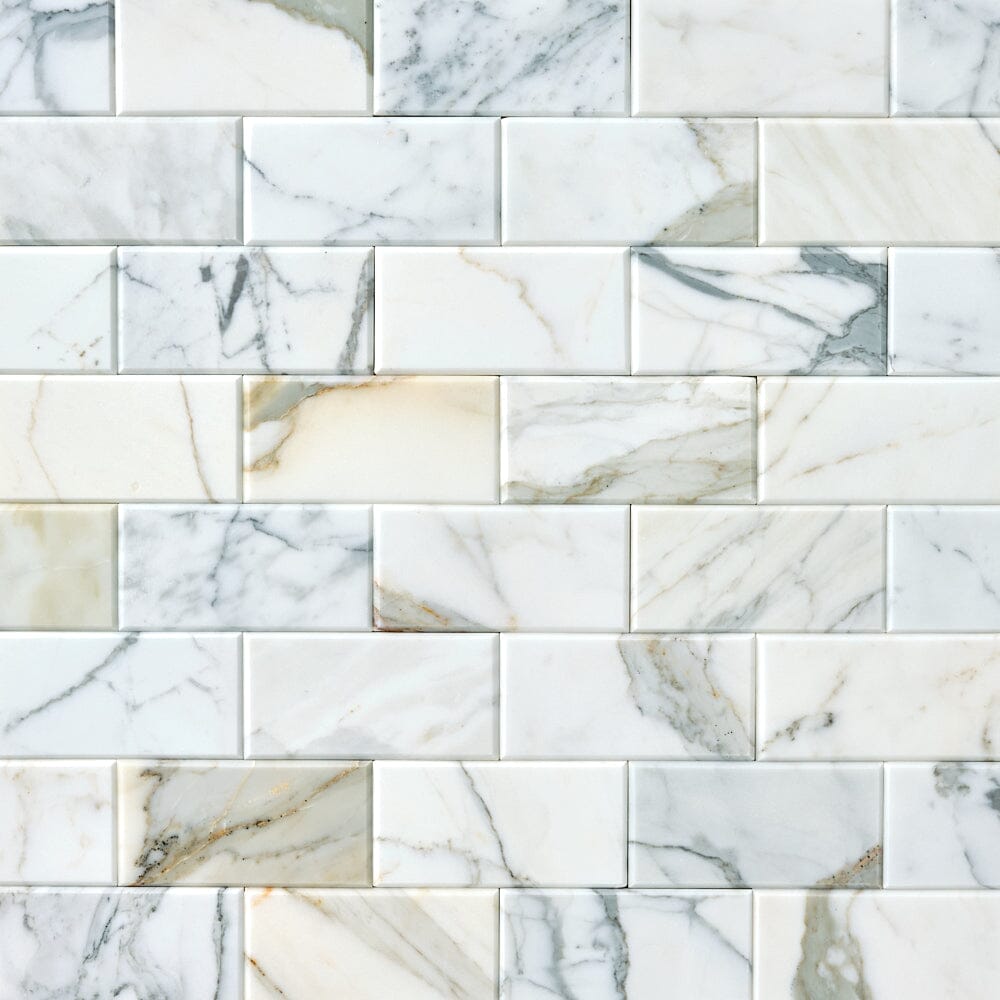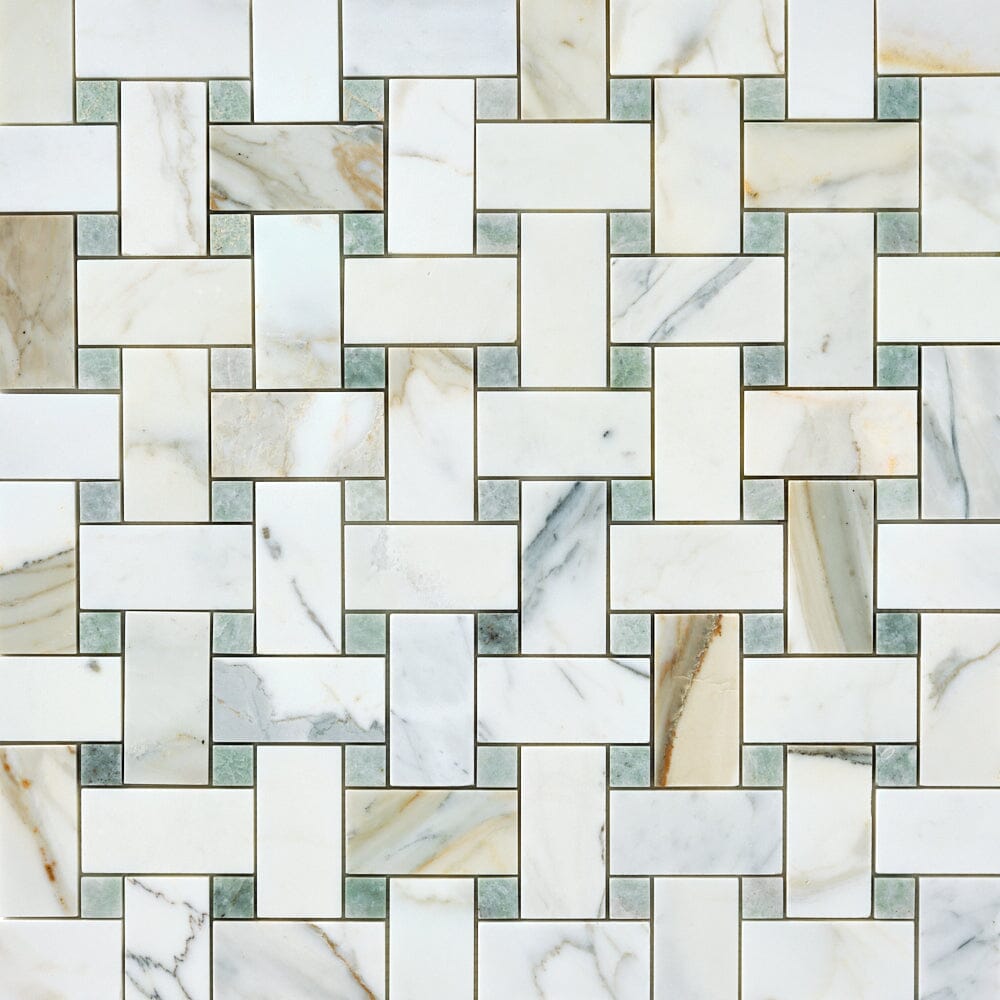


Calacatta Gold & Green Large Basketweave 12x12 Polished/Honed Marble Mosaic Tile
Tiles ship in 2-3 business daysCovers 1 per square foot


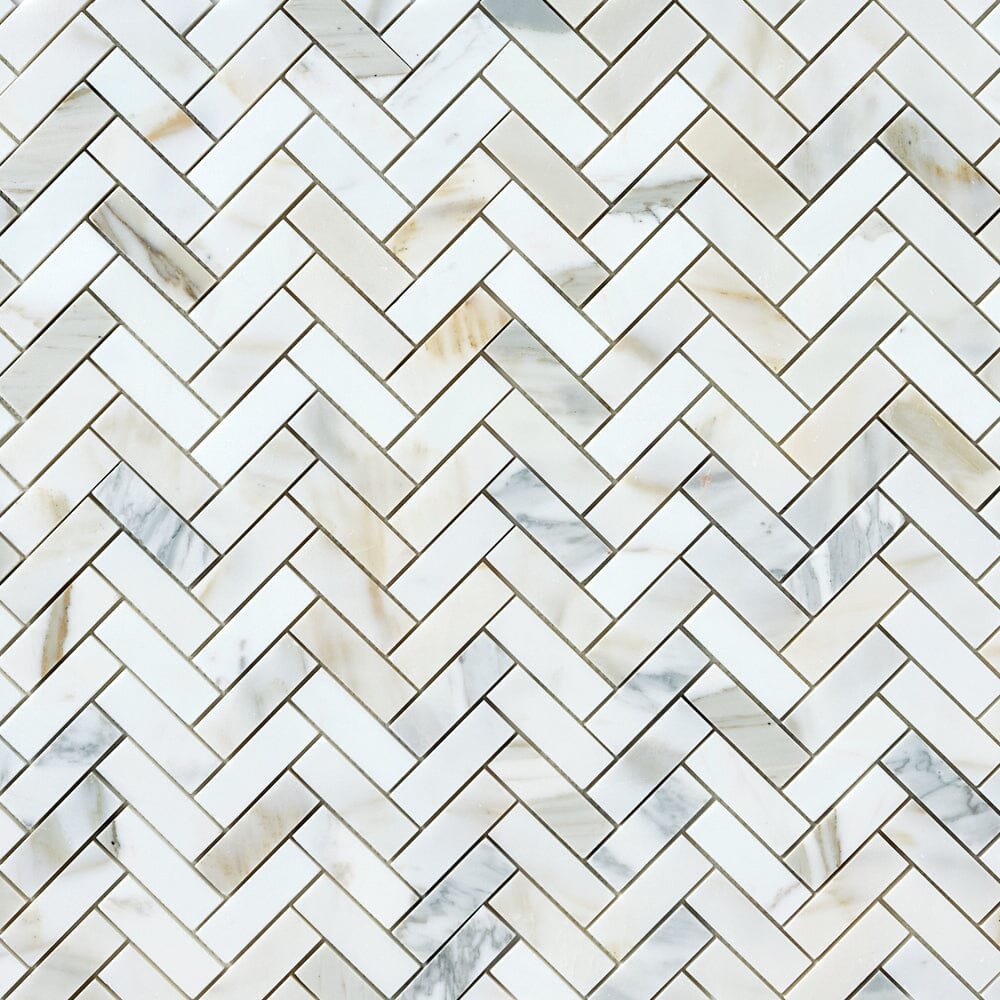
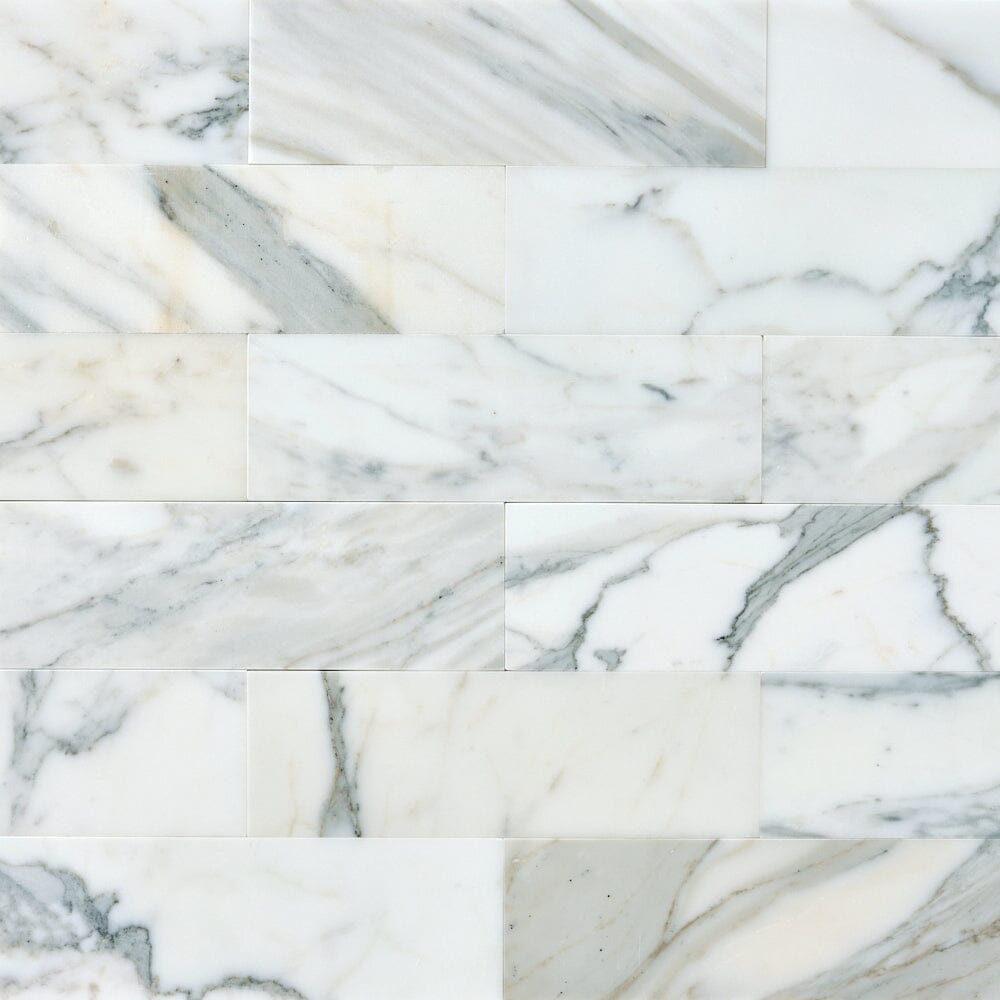
The Calacatta Gold Collection embodies luxury and sophistication, showcasing the timeless beauty of premium Italian marble. Featuring a luminous white background with striking gold and grey veining, this collection adds depth, warmth, and refined opulence to interior spaces. Whether used for walls, floors, countertops, or feature areas, Calacatta Gold elevates interiors with enduring elegance and architectural presence.
Key Features:
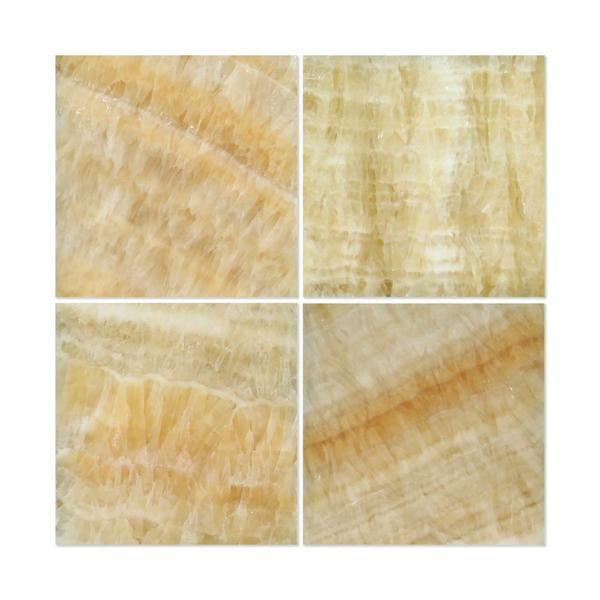
• Material: Genuine Italian Calacatta Gold marble, celebrated for its bright white field, expressive gold-and-grey veining, and refined green accent tones that introduce subtle colour contrast
• Finish Options:
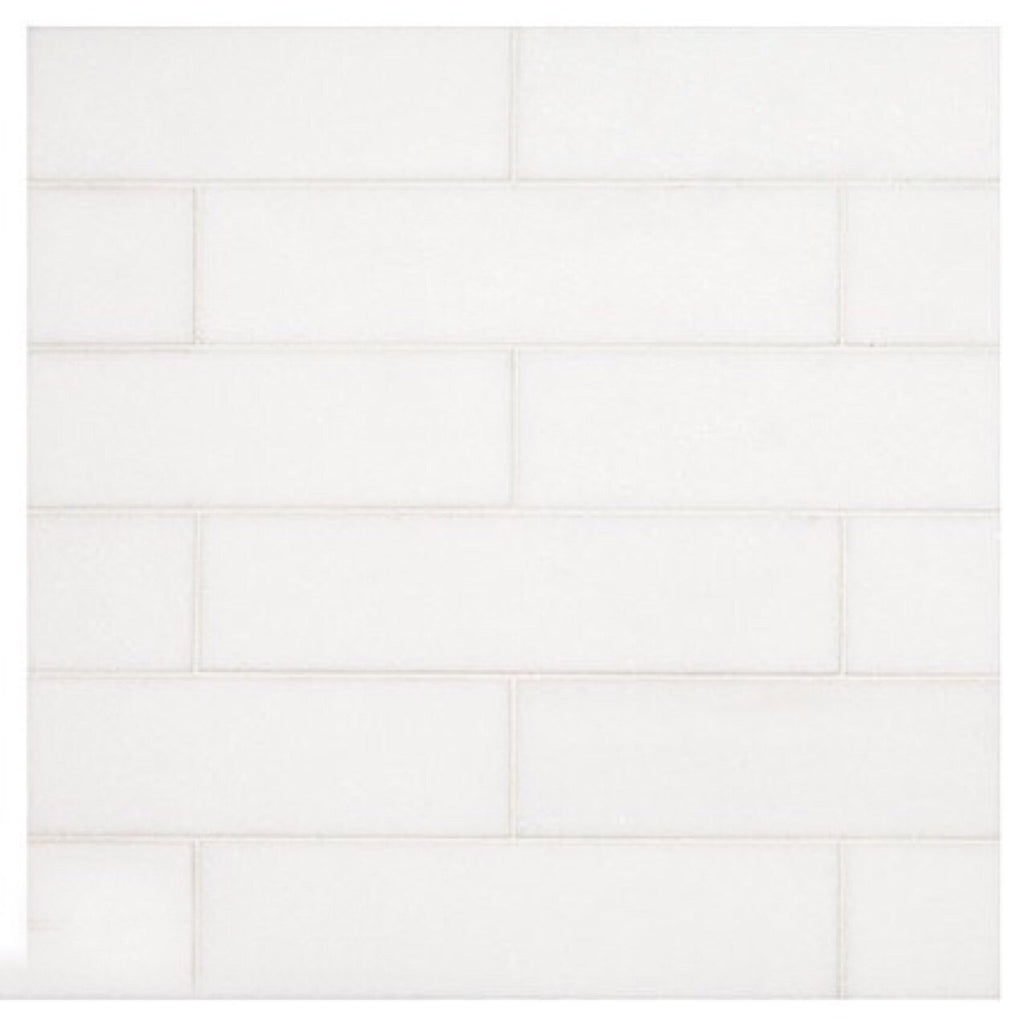
– Polished — glossy, high-shine finish that enhances light and reflection
– Honed — soft, matte finish for understated elegance
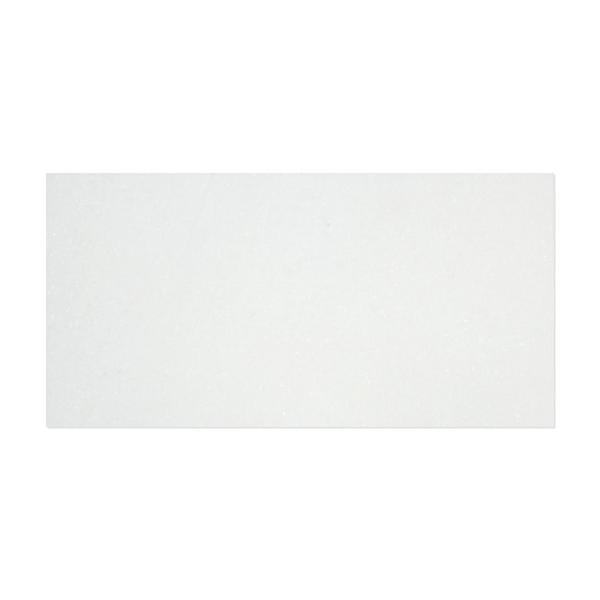
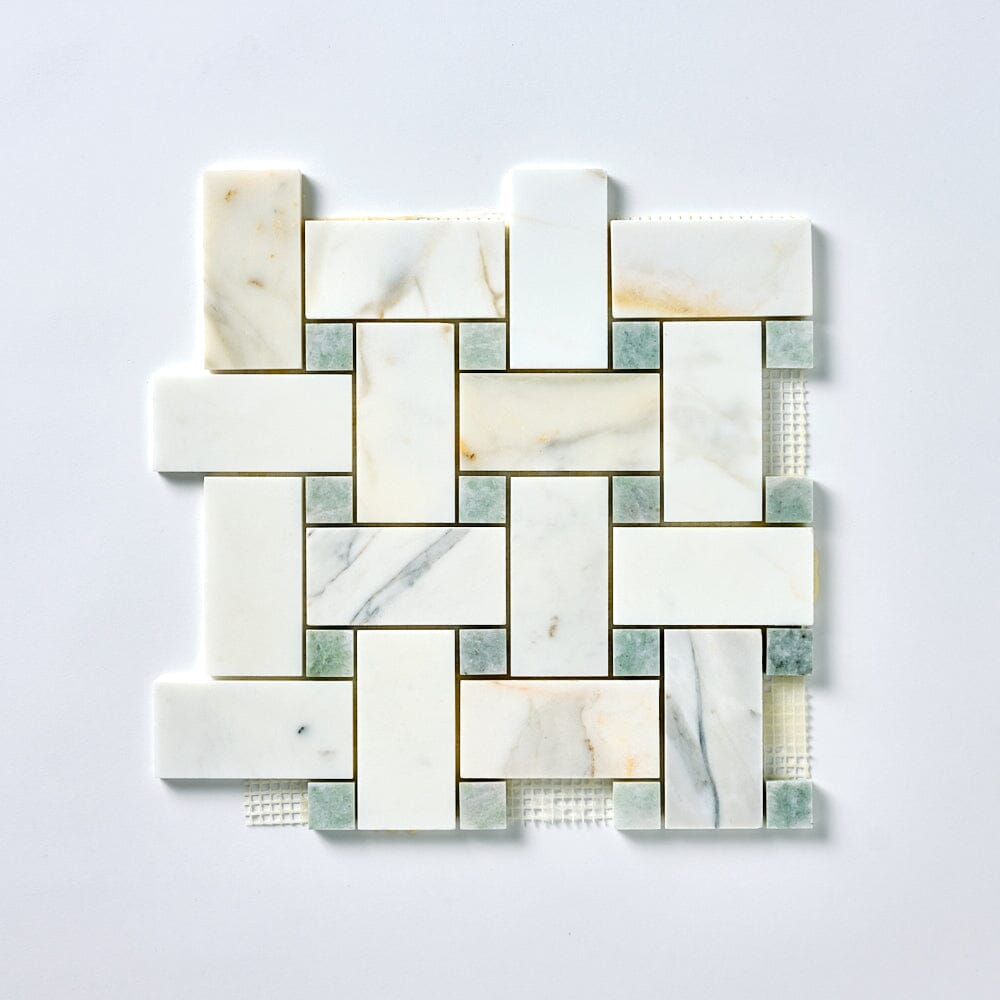
• Size(s): 12" × 12" mesh-mounted mosaic sheets (nominal size)
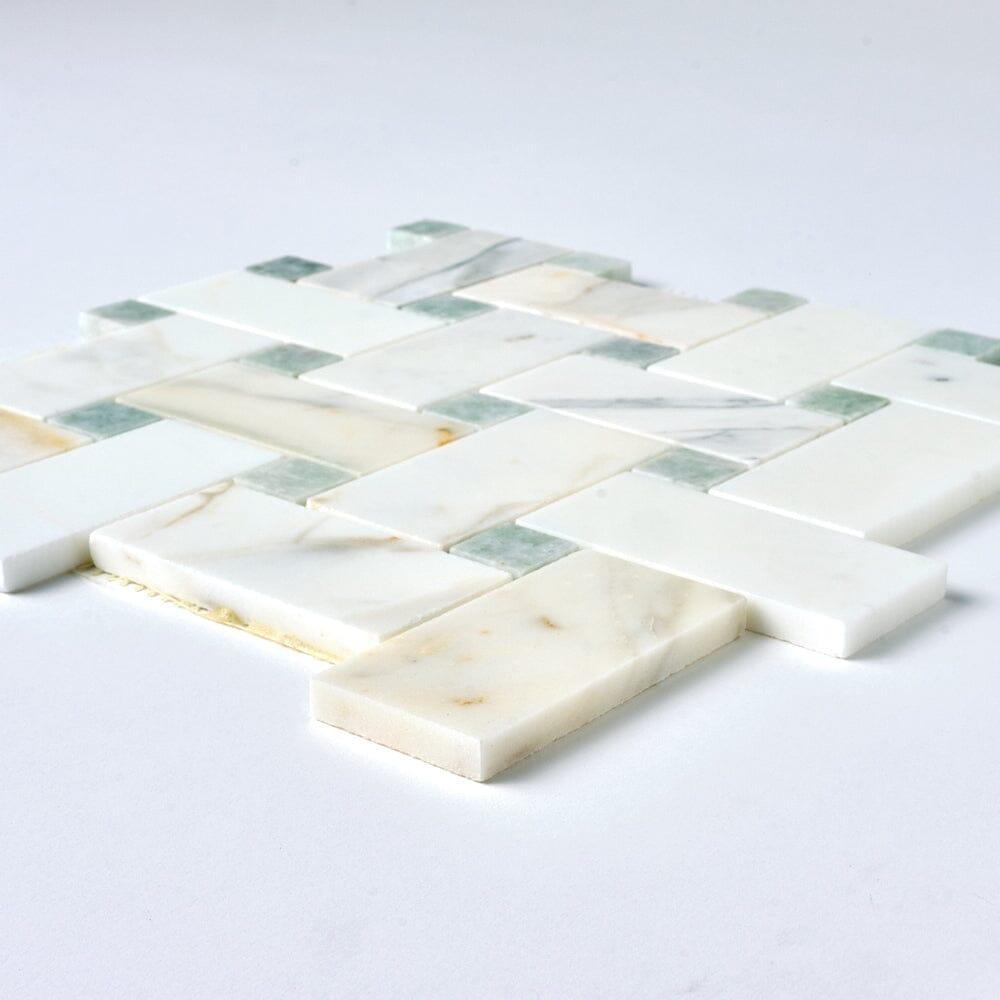
• Thickness: Approximately 3/8" (≈10 mm), consistent with premium marble mosaics
• Applications: Complete or accent backsplashes, statement shower walls, decorative wall panels, accent flooring in luxury spaces, and refined commercial interiors
• Style Keywords: Large basketweave mosaic, gold-and-green accents, marble texture, architectural rhythm, luxury marble finish
Why Choose the Calacatta Gold Collection?
• Striking Large Basketweave Pattern – Delivers strong visual texture and movement, making it ideal as a focal feature
• Warm Veining & Colour Accents – Gold-and-grey veining paired with subtle green accents adds elegance and a natural, curated contrast
• Finish Flexibility – Polished offers shine and drama; honed provides a serene, tactile aesthetic depending on lighting and mood
• Statement-Ready Design – Designed for interiors where pattern, material richness, and marble craftsmanship take centre stage
Care & Maintenance:
• Installation Tips:
– Dry-fit sheets prior to installation to ensure pattern continuity and harmonious veining
– Use white thin-set mortar to preserve the marble’s true colour
– Maintain narrow grout joints of approximately 1/16" for a clean, refined appearance
• Sealing: Apply a high-quality stone sealer before grouting and again after grout has cured to protect against moisture, staining, and surface wear
• Cleaning: Use pH-neutral, non-abrasive stone cleaners with a soft cloth. Avoid acidic or abrasive substances (vinegar, bleach, scouring pads) that may dull or damage the marble
• Natural Variation: Variations in veining, colour accents, and tone are inherent to natural marble and contribute to its unique beauty. Inspect material prior to installation to ensure visual consistency
| Tile/Sheet Size | 12"x12" Nominal |
| Product Thickness | 3/8" |
| Application | Floors and Walls |
| Style | Basketweave |
| Look | Mosaic |
| Material | Marble |
| Color Family | Gold,White,Green |
| Made In | Italy |
| Coverage | 1 Sf Per Sheet |
| Pieces Per Box | 5 pcs |
| Weight Per Box | 25 lbs |
| Finish | Polished or Honed |
| Chip Size | 2"x4" Nominal |
MATERIAL INSPECTION
Our stones are natural products. For this reason, there will be naturally occurring variations in the color, pattern, texture, and veining that may differ from what was pictured. Before you begin installation, please inspect the goods for any damage or defects such as chipped edges, broken pieces. We cannot make any adjustments or provide service after the installation has begun.
INSTALLATION
We recommend that you dry-fit your pattern first. Think about the cuts in advance and visualize the installation. Make sure that you practice laying out the pattern. This will also help you plan out the placement of the pieces, which is especially helpful with tiles that have a lot of variation.
To avoid affecting the color of the tile, we highly recommend using white thinset mortar. For faster installation, use a rapid curing thinset mortar.
- Apply as much adhesive as can be covered within 10-15 minutes.
- Grout joint should be a minimum of 1/16” and not butt set.
- Use a 3/16" or 1/4" square notch trowel when installing our marble material
- Prior to fixing the tiles in the mortar bed, use the flat side of the trowel prior to smooth down the ridges.
GROUTING
- For all-natural stone, we suggest using non-sanded grout in order to prevent scratching.
- Before grouting, test an area to make sure the stone surface will not scratch.
- Grout joints should be packed full. Do not leave pits or voids.
- Clean excess grout as you work. Do not let it harden completely.
- Never use acids to clean grout haze.
- Use a damp sponge for the final cleaning and to smooth out the grout joints.
- We highly recommend applying grout release prior to grouting the tile to facilitate cleaning and for protection against staining from contrasting color grouts.
SEAL
After the stone is installed and grouted, seal the stone with an appropriate high-quality breathable stone sealer. This will minimize the potential for water absorption, efflorescence, and staining. If needed, a color enhancer may be applied to bring out the true color of the stone at any time after grouting. You may choose to reseal the tile when the stone gets darker or as needed.
CUTTING
For the best results, use a wet-saw with a new, continuous rim diamond blade designed to cut marble. Do not use “turbo” or other notched blades designed for use with porcelain or ceramic: such teeth can result in a coarse cut, leading to a heavily chipped edge.
CARE AND MAINTENANCE
For normal care and maintenance of stone tiles, clean stone surfaces with a few drops of neutral cleaner, stone soap, or a mild liquid dishwashing detergent and warm water. Rinse the surface thoroughly after washing with the soap solution and dry with a soft cloth. To avoid leaving a film or causing streaks, avoid using too much cleaner or soap. When cleaning marble or limestone, do not use products that contain lemon, vinegar, or other acids. Do not use any abrasive cleaners.
Details
Specifications
Installation
-
I know the sq. ft. area I want to tile. Calculate the number of tiles I need to order:
-
I know the size of the area I want to tile. Calculate the number of tiles I need to order:
You need units. We recommend that you order units (10% extra) to cover cuts and future repairs.